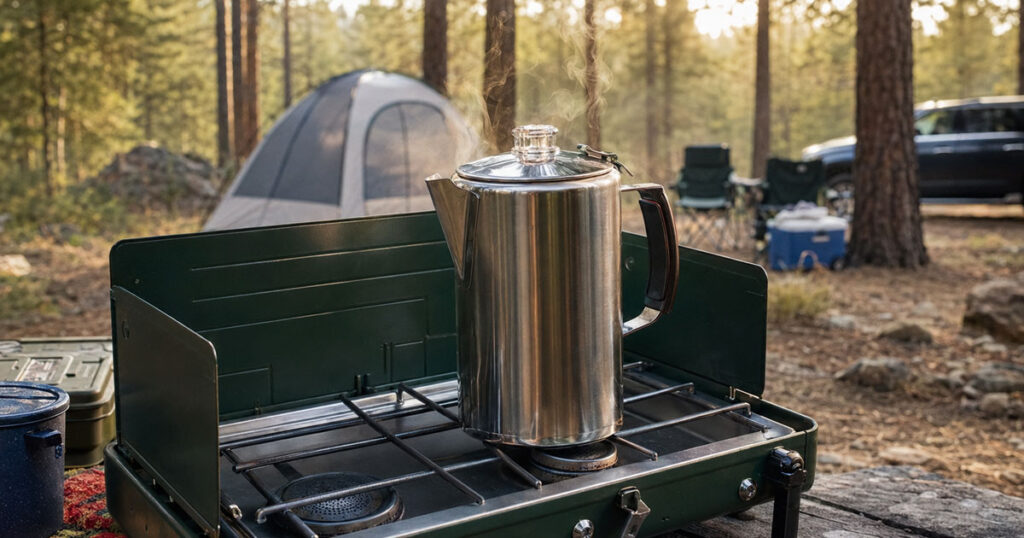
Short answer: fill the percolator’s bottom chamber with water, load the basket with one heaping tablespoon of medium-coarse coffee per cup, assemble it, and set it on medium-high heat until you see coffee bubbling through the little glass knob on the lid.
Turn the heat down to medium-low and let it perk for 5-10 minutes, then pull it off the heat and let it sit a minute before pouring. That’s the whole process, and it doesn’t get much more complicated than that.
We ruined our first three pots of percolator coffee before we figured out why it kept coming out either weak and watery or bitter enough to strip paint. Turns out the fix isn’t a fancier percolator, it’s grind size and timing. Here’s exactly what to do, plus how to keep an eye on a hot percolator with kids running around camp.
What You’ll Need
- A percolator (stainless steel holds up best over years of campfire use)
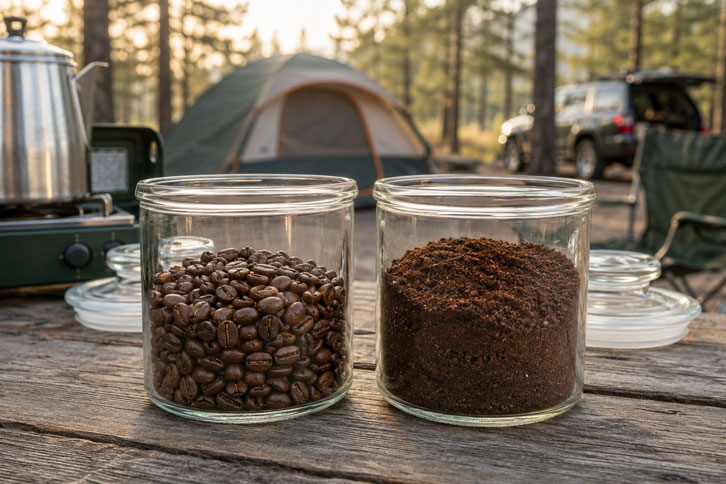
- Coarse-ground coffee (texture of sea salt, not table salt)
- Water
- A camp stove or campfire with a stable grate
- A heat-safe glove or towel for the handle
Step-by-Step: How to Use a Camping Percolator
Step 1: Take the percolator apart
Pull out the basket, the stem, and the lid’s inner filter piece. Most percolators ship with the basket and stem pre-attached as one unit, so this is usually a single piece to lift out, not three separate parts to hunt for.
Step 2: Fill the bottom chamber with water
Add water up to the fill line stamped inside the pot, or below the bottom of the stem if there’s no line. As a rough guide, plan on about 6-8 oz of water per cup you want to brew, keeping in mind camp mugs run bigger than kitchen ones.
Step 3: Add coffee to the basket
Use one heaping tablespoon of coarse-ground coffee per cup of water for a standard cup, or 1.5 tablespoons per cup if your family likes it strong. Don’t tamp it down. Loose grounds let water flow through evenly instead of channeling around a packed puck.
Step 4: Reassemble the percolator
Put the stem back in first, then the basket on top of the stem, then the basket’s lid. Close the pot’s main lid firmly. A loose-fitting lid is one of the most common reasons percolator coffee brews unevenly, since steam escapes instead of cycling the water through the grounds.
Step 5: Bring it to a boil, then reduce heat
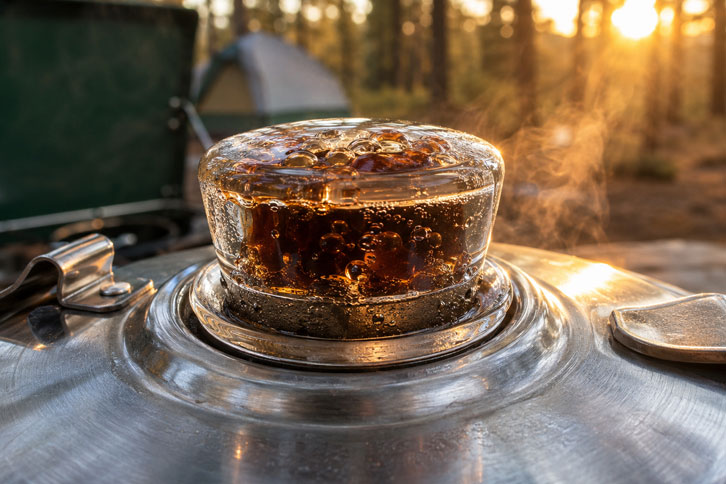
Set the percolator on medium-high heat on your stove, or over a stable spot on the campfire grate. Once you see coffee starting to bubble up through the small glass knob on the lid, that’s your signal the water has reached the stem and started cycling. Turn the heat down to medium-low right away.
Step 6: Let it perk for 5-10 minutes
Watch for a steady, gentle bubbling through the glass knob rather than a violent rolling boil. Five minutes gives you a milder cup, ten minutes gives you something closer to what most people call “cowboy coffee” strength. Anything past ten minutes tends to pull bitter compounds out of the grounds along with the good flavor.
Step 7: Remove from heat and let it settle
Take the percolator off the heat and let it rest for about a minute before pouring. This gives the grounds time to sink to the bottom of the basket instead of ending up in your mug.
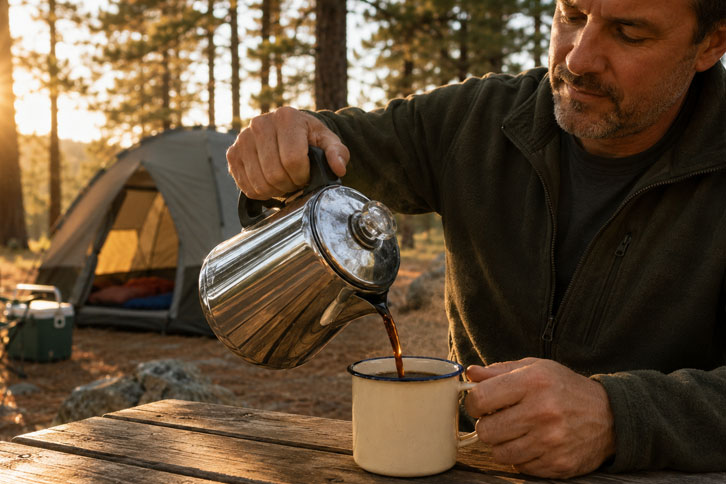
Step 8: Pour and enjoy
Pour slowly and stop before you get to the very bottom of the pot, where any stray grounds tend to collect. Rinse the basket and stem right away once they’ve cooled, since dried coffee oil is a pain to scrub off after it sits.
Stovetop vs. Campfire: Which Should You Use?
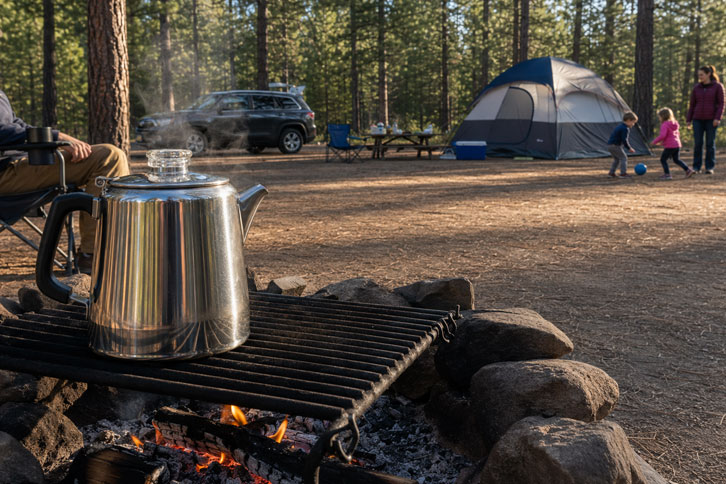
A camp stove gives you steady, even heat you can dial up or down in seconds, which makes it the easier option if this is your first few times using a percolator. A campfire grate works too and feels more like “real” camping, but fire intensity swings constantly, so you’ll need to physically move the percolator to a cooler or hotter spot on the grate to control the perk instead of just turning a dial.
If you do brew over an open flame, keep the fire small and steady rather than roaring, and never leave it unattended with kids nearby. Our family camping safety guide covers fire safety basics that apply just as much to your morning coffee as your evening campfire.
Common Mistakes That Ruin Percolator Coffee
Grinding too fine. Drip or espresso grind coffee slips through the basket’s mesh and ends up as sludge in your cup. Stick to a grind that looks and feels like coarse sea salt.
Percolating too long. Once you pass the 10-minute mark after the first perk, you’re pulling bitterness out of the grounds, not more flavor. Set a timer instead of eyeballing it, especially the first few times.
Boiling instead of perking. A hard, constant boil pushes water through the grounds too fast and too violently, which also tends to over-extract. Medium-low heat and a gentle, steady bubble is what you want once it starts cycling.
Skipping the rest period. Pouring immediately off the heat means grounds that haven’t settled yet end up in the pot. That one minute of patience makes a real difference.
Not rinsing right away. Coffee oil dries into a sticky film that’s much harder to scrub off once you’re home than it is at the campsite with a little water and a brush.
Next Steps
Once your morning coffee routine is sorted, the rest of camp cooking gets a lot easier to plan around it. Check our Best Camping Cookware Sets guide for pots and pans that pair well with a percolator on the same stove, and browse 25 Easy Camping Meals for what to make once everyone’s had their first cup. If this is one of your first trips, our beginner camping tips guide covers the rest of the morning routine, from breaking camp to packing the car.
Frequently Asked Questions
How much coffee do I put in a camping percolator?
Use one heaping tablespoon of coarse-ground coffee per cup of water for a standard strength brew, or 1.5 tablespoons per cup if you like it stronger. Don’t pack the grounds down in the basket, since loose grounds let water flow through evenly.
What grind size is best for a percolator?
A coarse grind, similar in texture to sea salt, works best. Finer grinds made for drip machines or espresso slip through the basket’s mesh and leave gritty sediment in your cup.
How long should you percolate coffee?
Perk for 5 to 10 minutes after you first see coffee bubbling through the glass knob on the lid. Five minutes gives a milder cup, ten minutes gives a stronger one, and anything longer starts pulling bitter flavors out of the grounds.
Can you make percolator coffee over a campfire instead of a stove?
Yes, but it takes more attention since fire heat isn’t as steady as a stove burner. You’ll need to move the percolator to a cooler or hotter spot on the grate to control the perk rather than just adjusting a dial.
Why does my percolator coffee taste bitter?
Bitterness almost always comes from percolating too long, using too fine a grind, or letting the water hit a hard boil instead of a gentle perk. Dial back the time first, since that’s the most common culprit.
Is percolator coffee safe for a family campsite with young kids?
Yes, as long as you treat it like any hot pot on a stove or fire. Keep it toward the center of the heat source rather than the edge, use a towel or glove on the handle, and set it up before kids are up and moving around the campsite if possible.